ROMライター
ソフトウェアーのインストール
Windows 7 (64ビット) へインストールした時の手順です.
- インストーラーソフトウェアーは,LEAP Electronic - Downloadから「Leaper-3C_V10.2_setup.zip」をダウンロードします.
- zip ファイルを解凍とします.すると,フォルダー「Leaper-3C_V10.2_setup」が出来上がり,その中にインストーラー「Leaper-3C_V10.2_setup.exe」があります.
- Leaper-3C_V10.2_setup.exe をダブルクリックし,ソフトウェアーを実行します.
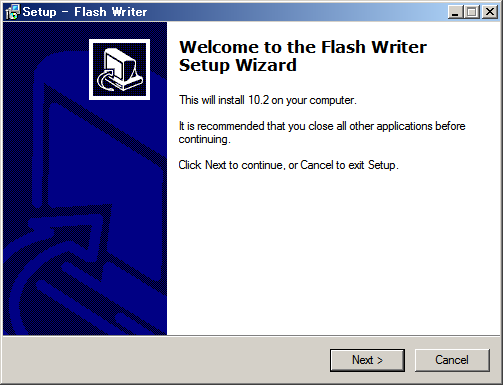
- 「Welcome to the Flash Writer Setup Wizard」のダイアログが現れるので,[Next >]をクリックします(図1).
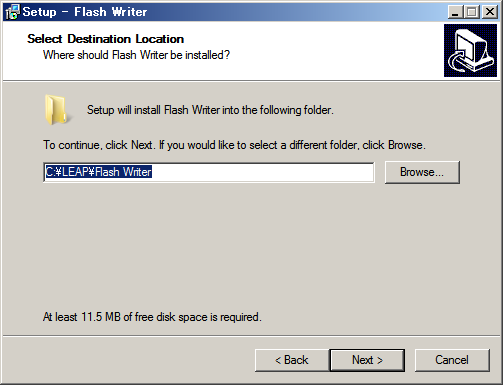
- 「Select Destination Location」のダイアログが現れます.ソフトウェアーのインストール先の設定です.特に変更の必要が無いので,[Next >]ボタンをクリックします(図2).
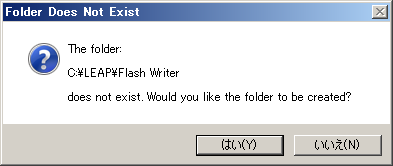
- 「does not exist. Would you like the folder to be created? (フォルダーが無いので,新規に作成するか?)」と聞いてくるので,[はい(Y)]ボタンをクリックします(図3).
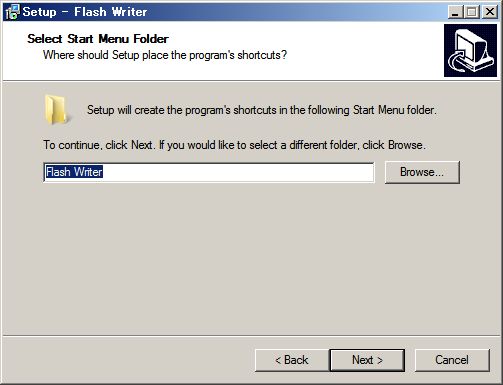
- 「Select Start Menu Folder」のダイアログが現れます.特に変更の必要が無いので,[Next >]ボタンをクリックします(図4).
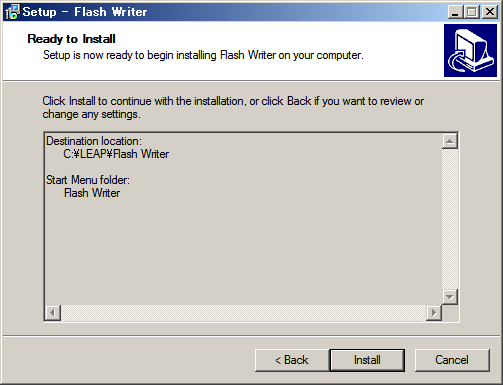
- 「Ready to Install」のダイアログが現れます.[Install]ボタンをクリックします(図5).
- インストールプログラムが実行されます.
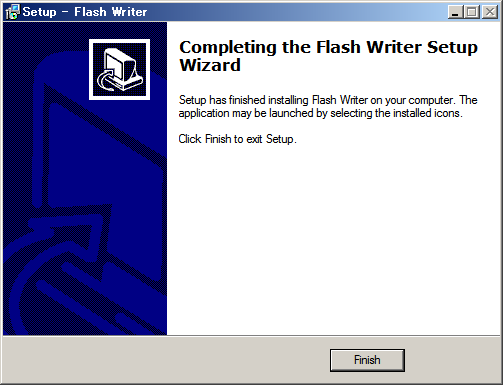
- 無事インストールされたメッセージ「Completing the Flash Writer Setup Wizard」が現れます.[Finish]ボタンを押します(図6).
|
|
|
| 図1: Welcome to the Flash Writer Setup Wizard | 図2: Select Destination Location | 図3: does not exist. Would you like the folder to be created? |
|
|
|
| 図4: Select Start Menu Folder | 図5: Ready to Install | 図6: Select Start Menu Folder |
以上でインストールは,完了です.Windows のスタートメニューをクリックすると「Flash Writer」が現れます.それをクリックすると,ソフトウェアーが実行されます.
ページ作成情報
参考資料
更新履歴
| 2015年10月30日 | 新規作成 |